
What to Photograph After a Florida Workplace Injury
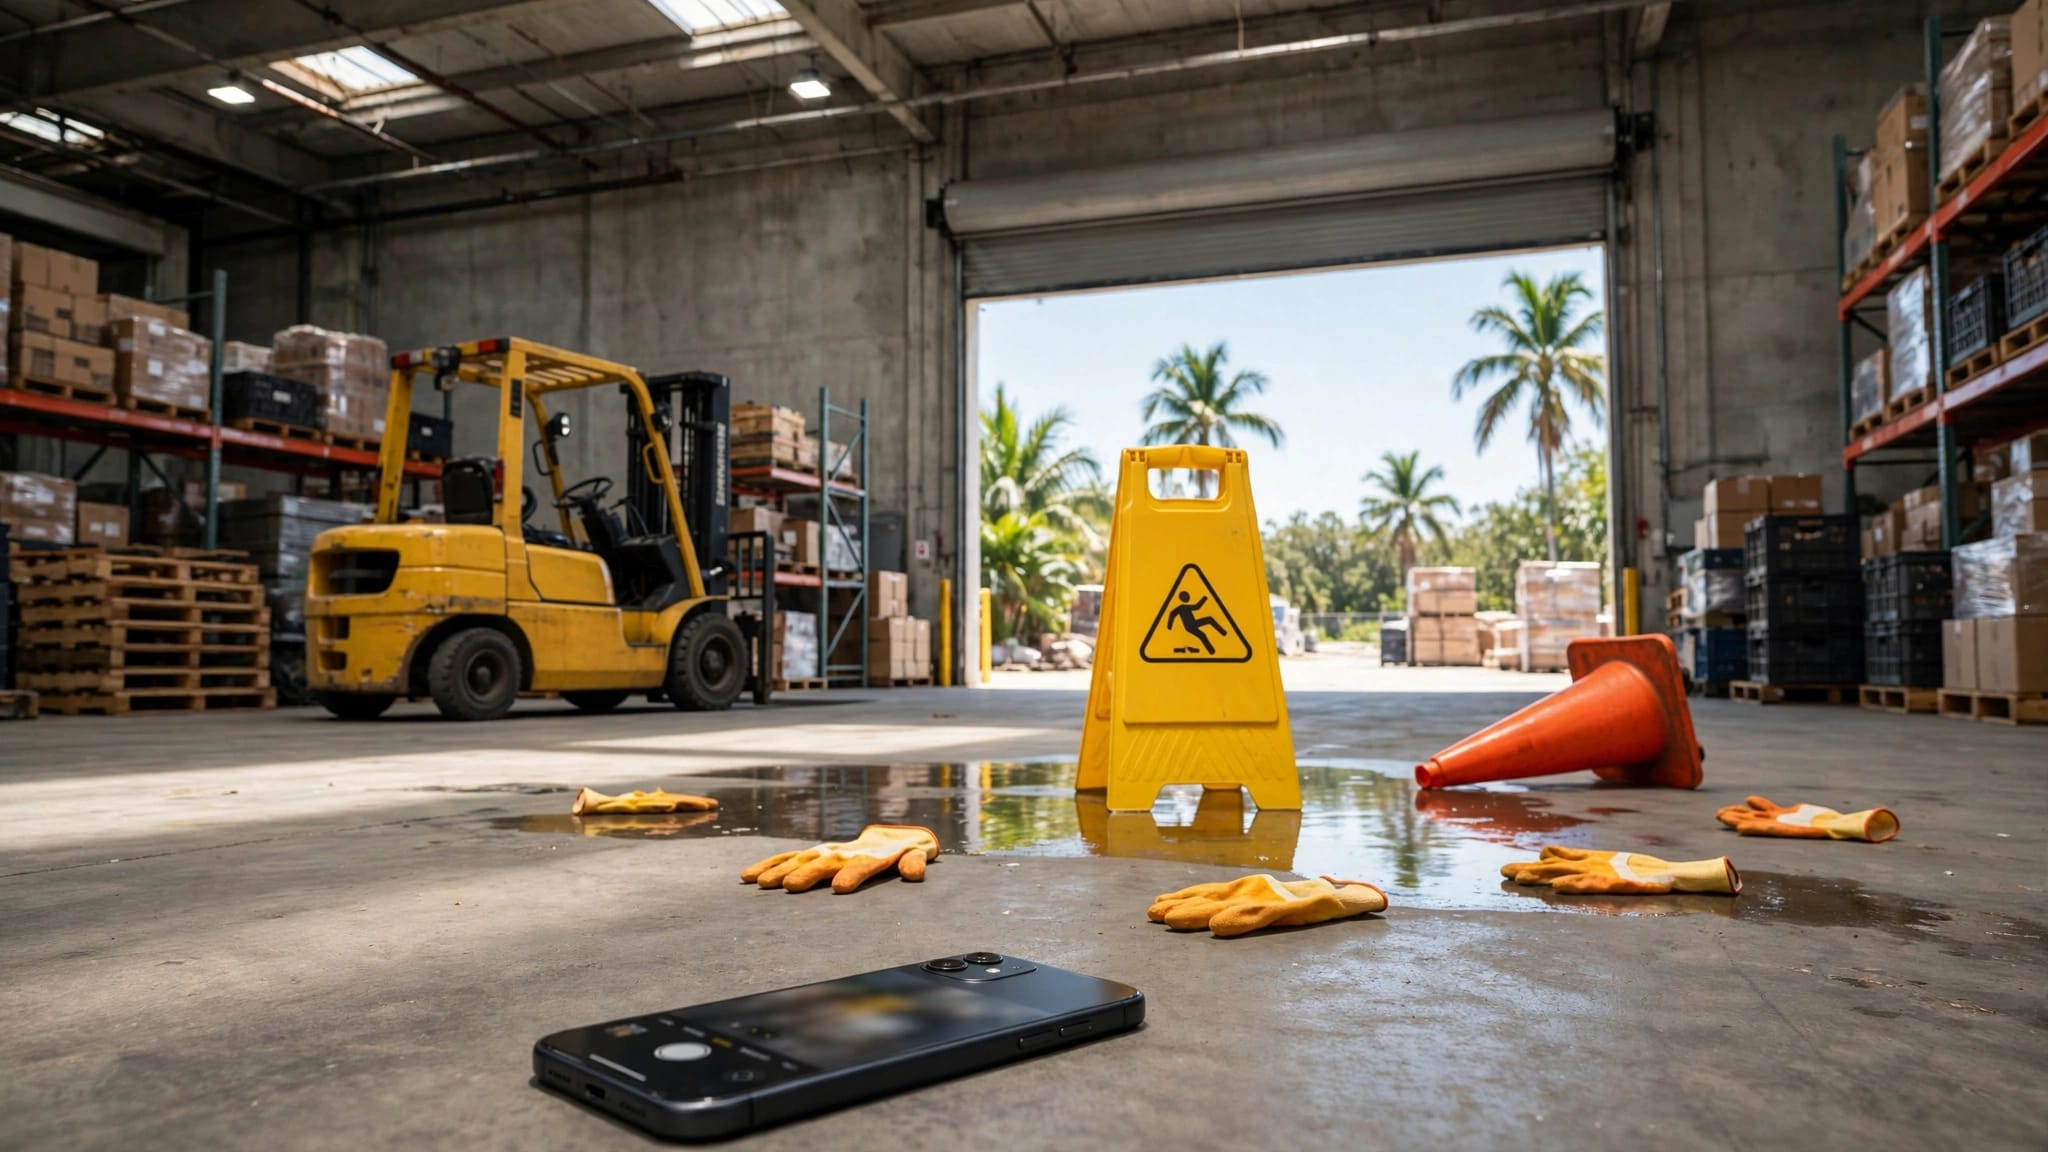
The first photos after a job injury can disappear from the record if you wait. A spill gets cleaned, a forklift moves, bruising changes color, and coworkers forget small details.
Workplace injury photos may help preserve facts while they’re still visible. They don’t replace prompt reporting or medical care, but they can support both when an insurance carrier questions how the injury happened.
Put workplace safety first, and document only from a safe location after getting medical care. Don’t enter a dangerous area or delay emergency care.
Key Takeaways
- Put safety and medical care first. Never enter a dangerous area or delay emergency treatment to take a photograph.
- Report the injury promptly, then photograph the worksite from wide angles before conditions change. Capture the hazard, surrounding context, warning signs, equipment, and identifying details without reenacting the accident.
- Photograph visible injuries, damaged clothing, and protective equipment over time, but remember that photos cannot show every condition. Medical records remain important for documenting symptoms, diagnosis, treatment, and work restrictions.
- Preserve original, unedited files and back them up securely. Keep related evidence, witness information, reports, and requests to preserve surveillance footage in one private folder.
- Workplace injury photos may support a workers’ compensation claim or help identify a third party, but they don’t guarantee benefits or establish liability by themselves.
Report the Injury Before Details Fade
Florida workers’ compensation claims depend on an early, consistent account of the accident. Tell a supervisor about the injury right away, even when you expect the pain to pass.
The Florida Department of Financial Services says workers should report an accident as soon as possible and no later than 30 days after it occurs. Missing that deadline can create a serious risk for a claim, but it doesn’t automatically defeat every claim. This article isn’t a substitute for checking current official instructions, so review the state’s instructions for reporting a work injury and keep a written record of whom you told, when you told them, and what you said. Promptly seek official guidance if you’re concerned about a delayed report.
Put Safety and Care First
Prioritize workplace safety by avoiding hazards. Don’t climb onto equipment, enter traffic, touch exposed wiring, or walk through a chemical spill. Ask a coworker to document the area if you need urgent help.
When medical treatment is needed, get it before documenting the scene. A cut, burn, or swollen joint may be visible, but a medical examination records symptoms that a camera cannot capture.
Take Photos Before Conditions Change
Once you’re safe and immediate medical needs are addressed, document the work area promptly. A supervisor may repair the hazard within minutes, and the worksite may look entirely different by the next shift.
Also write down the exact time, work location, task, and equipment involved. A photo is stronger when it fits a clear timeline.
For a practical sequence of actions, review the state’s instructions for reporting a work injury and follow its current guidance.
Workplace Injury Photos Should Show the Whole Scene
A close-up of a puddle or broken tool matters, but it rarely tells the full story. Start wide, then move closer if it is safe to do so.
Take several workplace injury photos rather than relying on one perfect image. Different angles can show where the accident happened, how the area was set up, and whether a warning sign or safety barrier was missing.
Online results for workplace accidents photos and generic safety images, including staged examples, aren’t substitutes for documenting the actual hazard at the worksite.
Begin With Wide-Angle Views
Use wide shots to capture the full setting. Include aisleways, loading docks, workstations, ladders, scaffolding, vehicle positions, machinery placement, entrances, and nearby signs.
Different accident scenarios require different contextual views. Don’t reenact an accident or move equipment to create them.
Choose an image orientation, portrait or landscape, based on what best captures the scene, without cropping out important context.
For a slip and fall, take photos that show the floor, the path you walked, lighting, nearby drains, mats, and warning cones. For a machinery accident, show the entire machine and its relation to the work area.
Warning signs, barriers, lighting, and access routes can help document workplace safety conditions that existed at the time.
These details help establish context that a cropped close-up cannot provide.
Move In for the Hazard
Next, photograph the condition that caused the injury. Depending on the accident, that could include:
- A wet floor, grease, loose debris, or uneven surface.
- A broken ladder rung, damaged scaffold plank, or missing handrail.
- An unguarded machine, exposed wire, faulty switch, or damaged tool.
- A chemical container, spill pattern, missing label, or inadequate protective equipment.
- A blocked walkway, unstable pallet, or forklift path.
Capture the hazard from several distances, but don’t enter a dangerous area for a better angle. Include an object that gives scale when possible, such as a tool, shoe, or measuring tape, but don’t move the hazardous item to stage a better picture.
OSHA recognizes incident records as part of workplace hazard identification. Its hazard identification guidance also explains why past incidents can reveal conditions that require correction.
Photograph Visible Injuries Over Time
Work injury pictures document what your body looked like after the accident. They can be useful when bruising, swelling, burns, cuts, or abrasions change before your next appointment.
Still, don’t rely on a camera to prove every injury. Back pain, head injuries, nerve damage, internal injuries, and many soft-tissue conditions may not appear in a picture. Tell the treating provider every area that hurts and describe how the work accident occurred.
Capture Clear, Respectful Images
Take both close and medium-distance photos of each visible injury. A wider image identifies the body part, while a close-up shows details such as discoloration, swelling, stitches, or a burn pattern.
Use ordinary lighting whenever possible. Avoid image filters, beauty settings, editing tools, or heavy shadows. Unaltered originals are easier to evaluate.
If someone else takes the photo, give consent first. Ask them to share it securely and privately, without identifying coworkers or exposing sensitive medical information. Keep the original file.
Photograph torn clothing, damaged boots, broken glasses, crushed hard hats, gloves, harnesses, or other gear involved in the accident. Those items can link the injury to a particular workplace event.
Document Changes, Not Performances
Take follow-up photos as bruising spreads, swelling increases, or wounds heal. Save them in date order and write a brief note about pain, mobility limits, or changes in treatment.
Don’t exaggerate, pose dramatically, or post images online. An insurance carrier can take social media photos out of context. Keep your documentation factual and private.
A photograph records appearance at one moment. Medical records document diagnosis, treatment, and work restrictions over time. A strong claim often needs both.
Preserve the Original Files and Physical Evidence
A photo’s value can weaken if no one knows when or where it came from. Keep the original image files on your phone or camera, because they may retain creation dates and other metadata.
Metadata can provide useful supporting information, but it doesn’t conclusively prove when or where a photograph was taken. Create a backup soon after the incident using secure, private cloud storage, email, or another device. Keep the originals as well.
Do Not Crop, Edit, or Add Labels
Avoid cropping an image to remove background details. Don’t add arrows, captions, timestamps, filters, or annotations to the original file.
If an attorney, doctor, or insurer needs a marked-up version later, make a duplicate and preserve the untouched original. The same rule applies to video. Save the complete video file instead of recording only a short screen capture.
Use original incident photographs to document the Florida worksite, not stock photography or AI generated images. Generic accident pictures and staged workplace accident pictures may suit safety training or a safety manual, but they can’t substitute for photographs from the actual incident.
Keep Related Items in a Safe Place
Save items that may connect the worksite to your injury. These can include damaged personal protective equipment, work clothing, receipts, job assignments, inspection forms, and text messages about the accident.
Don’t repair, wash, throw away, or alter an item before photographing it, unless required safety procedures call for prompt action. If the employer needs the equipment, document it first when safe and make a note of who takes possession.
For a broader list of records to preserve for a workers’ compensation claim, keep a single folder for photos, reports, work notes, and medical documents.
Document Witnesses, Cameras, and the First Report
Photos alone may not establish every fact. Witness information, surveillance footage, and a timely accident report can help confirm when you were hurt and what happened afterward.
Write down each witness’s name, phone number, job title, and brief account of what they saw. A coworker may not have seen the fall but may have noticed the wet floor, heard a machine malfunction, or seen you in pain minutes later.
Photograph Identifying Details, Not Private Conversations
If appropriate, photograph visible camera locations, equipment numbers, warning labels, room numbers, jobsite signs, and company markings. These details may help identify evidence that needs preservation.
Don’t photograph private conversations, confidential medical information, or coworkers unnecessarily. Follow workplace rules and applicable recording laws. Instead, ask witnesses for contact information and write a factual account while your memory is fresh.
Surveillance systems may overwrite footage. Promptly notify your employer in writing that you want relevant video preserved. Include the date, approximate time, location, and camera area if known. A preservation request is practical, but it can’t guarantee that footage exists or will be released.
Compare Your Report With Your Records
Request or keep a copy of any accident or incident report. Read it carefully for errors involving the date, time, location, injured body parts, or task description.
Your early photos can help identify omissions. They may show a spill, damaged guard, or missing protective gear that the report failed to mention. For official guidance, review the Florida Department of Financial Services workers’ compensation reporting and claims resources.
Photos Can Also Identify a Third Party
Workers’ compensation may cover a job injury without requiring proof that your employer acted negligently. However, another party may have caused or contributed to the accident.
For example, a defective machine may involve a manufacturer. A crash in a company vehicle may involve another driver. A construction-site accident may involve a separate contractor, property owner, or equipment rental company.
Capture the Outside Party’s Connection
When safe, photograph product labels, serial numbers, rental-company decals, vehicle plates, contractor signs, delivery paperwork, and the equipment or property’s precise condition.
These details may help identify another responsible entity, but they don’t establish liability by themselves. They can also disappear after repairs, towing, or equipment replacement.
Florida law may allow an injured worker to receive workers’ compensation benefits and pursue a claim against a negligent third party. The workers’ compensation program provides official information about the benefits system.
Questions about separate liability, deadlines, or preserving disputed evidence may require individualized legal advice.
An Unwitnessed Injury Still Needs Proof
A lack of eyewitnesses doesn’t end a valid claim. Prompt notice, medical records, work schedules, consistent statements, scene photos, and possible camera footage may help establish what occurred.
If no one saw the accident, preserve every available detail and review guidance from Florida’s Department of Financial Services. Evidence may become harder to obtain as time passes.
Frequently Asked Questions
Should I take photos before reporting a workplace injury?
No. Report the injury to a supervisor as soon as possible and seek medical care when needed. Take photographs afterward, once you are in a safe location and immediate medical needs have been addressed.
What should workplace injury photos show?
Begin with wide images that show the entire work area, then take closer photos of the hazard. Include relevant signs, barriers, lighting, equipment, damage, and identifying details without moving objects or entering a dangerous area.
Can I use photos to prove my injury?
Photos can document visible conditions such as bruising, swelling, cuts, burns, damaged clothing, or broken safety gear. They cannot reliably show conditions such as back pain, nerve damage, internal injuries, or other symptoms that require medical documentation.
Should I edit or crop the photographs?
Keep the original files unedited and avoid cropping, filters, annotations, or added timestamps. If a marked-up image is needed later, make a duplicate and preserve the untouched original.
What else should I preserve after taking photos?
Keep witness contact information, accident reports, work records, medical documents, damaged equipment, and related messages. You may also want to notify the employer in writing about preserving relevant surveillance footage, since systems may overwrite recordings.
Final Thoughts on Photographing a Florida Work Injury
Photographs are optional evidence, not a legal requirement or a guarantee of a successful claim. Put your safety first, seek emergency or appropriate medical care, and report the injury promptly.
Then document the facts accurately, respect privacy, and preserve original files and related physical evidence. Don’t edit images or put yourself in danger to capture one.
This article provides general information about documenting a Florida workplace injury and isn’t legal advice.